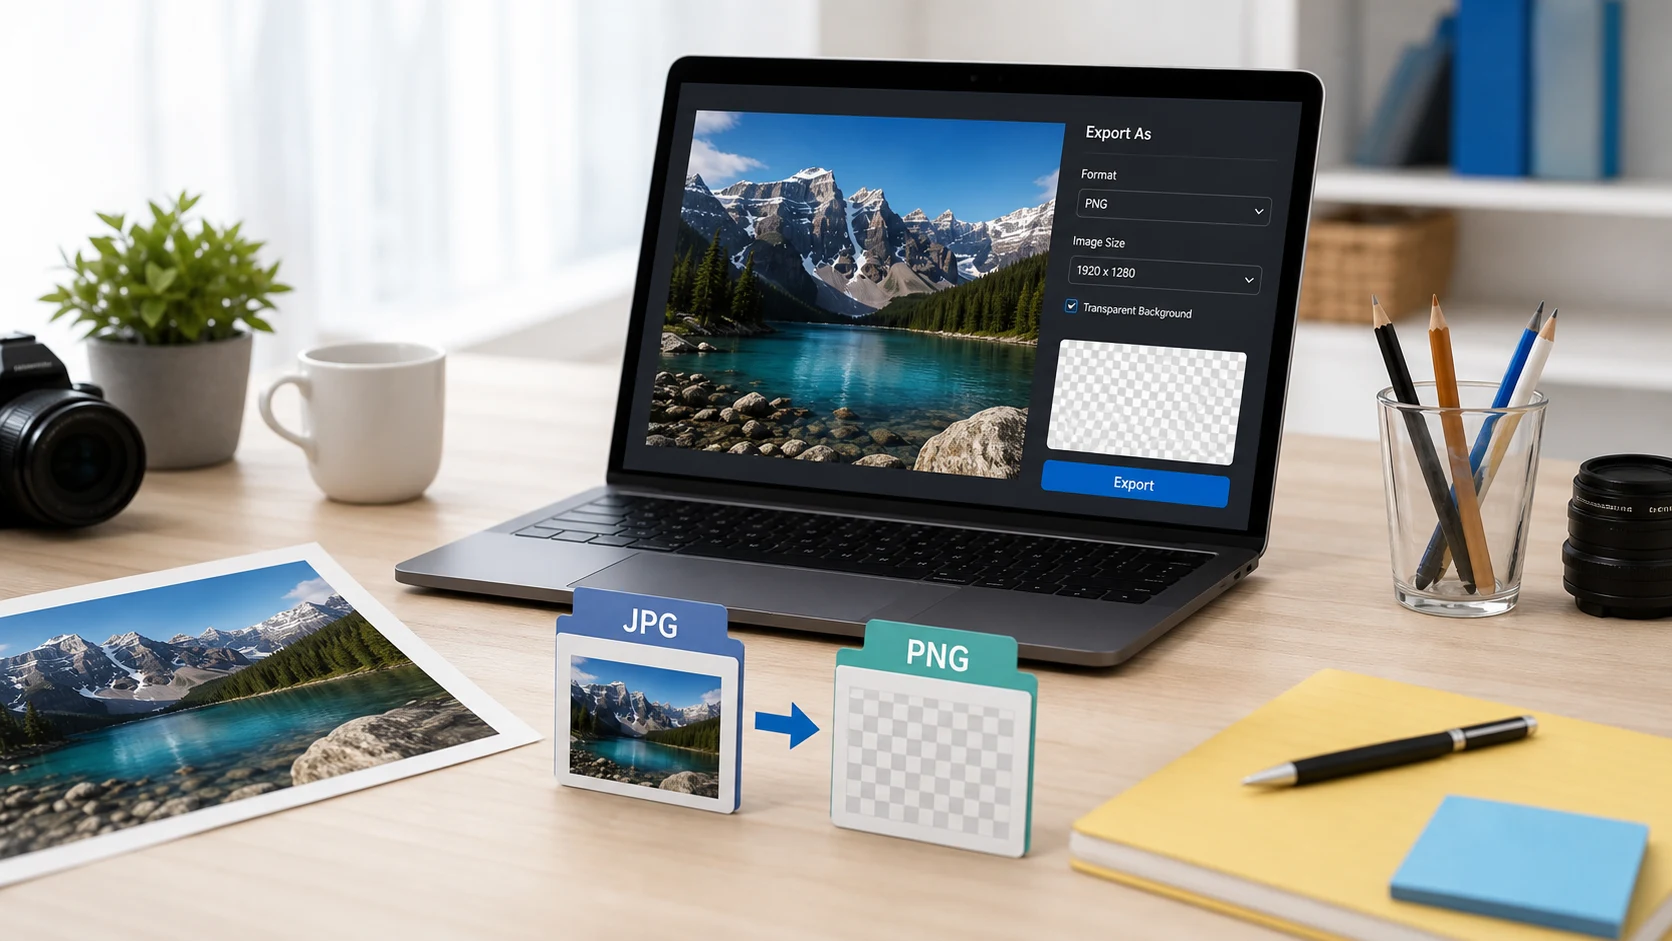
How to convert JPG to PNG: open the image and save a copy as PNG. On Windows, use Paint's File > Save as > PNG picture. On a Mac, open it in Preview, choose File > Export and pick PNG. Converting won't remove the background or sharpen the photo. You get the same picture, usually in a bigger file.
What converting JPG to PNG does (and what it won't change)
Many people convert to PNG hoping for a transparent background, or to fix a blurry photo. Neither happens. Here's what you get.
- The same pixels. Any blur, noise or compression blotches in the JPG are copied into the PNG as they are.
- A solid background. The white or colored background in the JPG stays in the PNG. Transparency has to be created by removing the background, which is a separate step.
- A bigger file, in most cases. PNG is lossless and stores every pixel exactly. For photos that often means several times the size.
- No further losses. Once it's a PNG, you can edit and resave it as often as you like without the gradual damage repeated JPG saves cause.
So convert when a form or app specifically asks for PNG, for an image you'll edit many times, or as the first step before cutting out a background. The difference between PNG and JPG is covered in full in our format guide, and what is a PNG file explains the format itself.
Why would a site ask for PNG?
Some upload forms, app stores and design tools accept only PNG. Usually the image might contain text that should stay sharp, or the system wants the option of transparency. Icon and sticker uploads often work this way.
If the form only checks the file type, a converted JPG will pass. If it also checks dimensions, such as a square icon at a set pixel size, convert first and then resize with the image resizer. Read the instructions closely. "PNG with transparent background" means conversion alone won't be enough.
How to convert JPG to PNG on Mac
Using Preview
- Open the JPG in Preview.
- Choose File > Export.
- Click the Format pop-up menu and choose PNG.
- Name the file and click Save.
For several images, open them in one Preview window, select all the thumbnails in the sidebar, and export them together.
Using Finder Quick Actions
- Select the JPGs in Finder.
- Right-click and choose Quick Actions > Convert Image (macOS Monterey or later).
- Pick PNG as the format and choose Actual Size to keep the dimensions.
- Click Convert to PNG.
The PNGs appear in the same folder, and the original JPGs stay as they were.
How to save JPG as PNG on Windows
Paint
- Right-click the JPG and choose Open with > Paint.
- Choose File > Save as.
- Pick PNG picture.
- Name the file and click Save.
Photos
- Open the JPG in the Photos app.
- Click the three-dot See more menu and choose Save as, or press Ctrl+S.
- Change the file type to .png and click Save.
Both apps handle one file at a time, which is fine for a handful of images.
How to convert JPEG to PNG online or on a phone
When you're on a phone, a shared computer, or dealing with many files, a browser tool is simpler. The JPG to PNG converter runs locally in the tab, so your images aren't uploaded anywhere. JPEG and JPG are the same format, so .jpeg files work the same way.
- Open the converter and add your JPG or JPEG files.
- Convert them.
- Download each PNG, or the whole batch as a ZIP.
On a phone this is often the most practical route. Neither iPhone nor Android has an obvious "save as PNG" button in the photo app. The converter works in Safari or Chrome the same way it does on a computer.
If the new PNG is too large for an upload limit, run it through a PNG compressor. Ours can reduce the number of colors to cut the size while keeping the format. For a photo, the honest answer is often to send the JPG instead.
How to get a transparent background
If transparency is the goal, you need a tool that removes the background. Saving as PNG comes after that, because PNG is the format that can store the result.
- On a Mac, select the image in Finder, right-click and choose Quick Actions > Remove Background. A new image with the background removed appears next to the original.
- On an iPhone running iOS 16 or later, open the photo, touch and hold the subject until it lifts, then choose Copy or Share. Apple calls this a photo cutout.
- In an image editor such as GIMP or Photoshop, select and delete the background, then export as PNG.
Automatic removal works best on a clear subject against a plain background. Hair, glass and busy scenes still need manual cleanup. If your goal is a crisp logo that scales to any size, look at vector tracing. The JPG and PNG to SVG guide covers when that works.
Common problems after converting JPG to PNG
- The PNG is too big for an upload limit. Compress it with color reduction, shrink its pixel dimensions, or check whether the form accepts JPG after all.
- The form says the file isn't a valid PNG. This usually happens when someone renamed .jpg to .png. Renaming doesn't change the data inside, so export a real copy with one of the methods above.
- The background is still white. That's expected. Use a background removal step first, then save as PNG.
- The image looks soft or pixelated. The JPG was probably small to begin with. A PNG can't add pixels that were never there, and enlarging it only spreads the blur.
- Location or date details are missing, or still there. Apps handle metadata differently. If privacy matters, check the file's properties before you share it.
Most of these come back to one point: PNG is a container that preserves what you give it. Start from the best source you have.
JPG or PNG: which should you keep?
Use JPG for photos you want to share or upload. It's smaller and every device opens it. Use PNG for screenshots, diagrams, images with text, logos, and anything that needs a transparent background.
If you edit often, keep a PNG master for editing. Export a JPG whenever the finished picture goes out by email or onto a web page. You get clean edits and small files.
When an image starts life as a JPG, converting it to PNG stops it getting any worse. It won't make it better. For a cleaner image, go back to the source, such as the camera original or the design export, and save it as PNG from there. For the opposite job, see the PNG to JPG guide.
Free tools that run in your browser
Frequently asked questions
How do I convert JPG to PNG on a Mac?
Open the image in Preview, choose File, Export, and pick PNG from the Format menu. For several files, use Quick Actions, Convert Image in Finder.
How do I save a JPG as a PNG on Windows?
Open the JPG in Paint, choose File, Save as, and pick PNG picture. The Photos app also has a Save as option with a PNG file type.
Does converting JPEG to PNG make the background transparent?
No. The background is copied as solid pixels. Remove it with a background removal tool, then save the result as PNG.
Does converting JPG to PNG improve quality?
No. The PNG copies the JPG's pixels exactly, including blur and compression artifacts. It only stops further loss when you edit and save again.
Why is my PNG bigger than the JPG?
PNG is lossless and stores every pixel exactly, while JPG discards detail you mostly can't see. Photos in particular grow a lot as PNG.