To convert JPG to SVG (or PNG to SVG), you trace the image. Software finds the edges between colors and redraws them as vector shapes. A browser tracer does it in one step, and the free Inkscape editor does it with Path > Trace Bitmap. Tracing works well for logos, icons and line art, and poorly for photos.
What happens when you convert an image to SVG
JPG, PNG and SVG store pictures in completely different ways. A JPG or PNG is a grid of colored pixels. An SVG describes shapes in text: "a curve from here to here, filled dark blue." There's no direct translation between the two, so a converter has to work out where the shapes are.
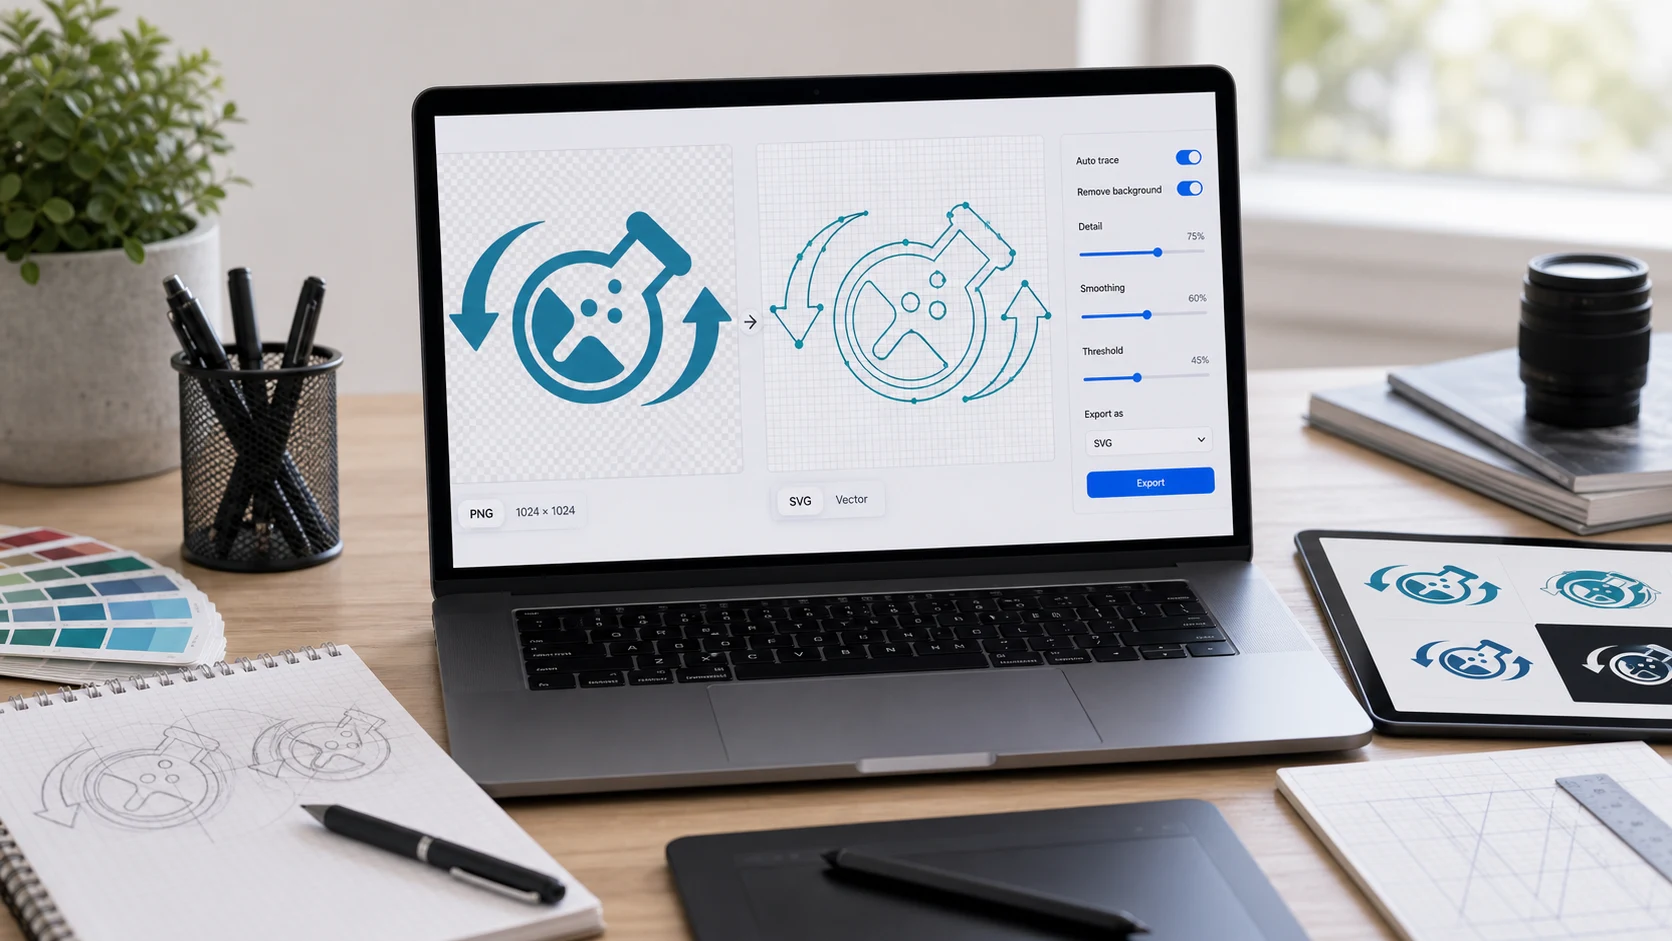
That process is called tracing or vectorizing. The software groups similar colors, follows the outline of each group, and smooths the outlines into curves. The result is an approximation of your image built from paths. With a few flat colors and clear edges, it can look almost identical to the original and scale to any size. With gradients, texture and fine detail, the software has to simplify heavily.
Watch out for converters that skip tracing. Some tools wrap the JPG or PNG inside an SVG file and call it done. The file ends in .svg, but it still holds the same pixels and blurs when enlarged. If a cutting machine, embroidery program or laser engraver rejects your "SVG," this is a likely cause. To check, open the file in a text editor. If you see a long block starting with data:image/png;base64 or data:image/jpeg;base64 and few path elements, it was never traced.
Which images convert to SVG well (and which don't)
Good candidates:
- Logos with a handful of flat colors.
- Icons and simple illustrations.
- Black and white line art, stamps and clip art.
- Signatures and handwriting scanned at a decent size.
- Text in a bold, clean typeface.
Poor candidates:
- Photos of people, places or products.
- Images with soft shadows, gradients or blur.
- Small, low-resolution files where the edges are already fuzzy.
- Heavily compressed JPGs with visible artifacts around the edges.
A photo traced into SVG looks like a poster made of flat color patches. The file can end up larger than the original, since it holds thousands of tiny shapes. For photos, keep a raster format such as JPG or WebP.
JPG or PNG: which makes a better source?
PNG, when you have the choice. JPG compression leaves faint smudges and ripples around sharp edges, and a tracer turns those into bumps and stray specks. A PNG of the same logo has clean edges and often a transparent background, which traces far better. If all you have is a JPG, use the largest version you can find and clean it up first (tips below). Our guide to PNG files explains why the format keeps edges intact.
How to convert PNG to SVG in your browser
The PNG to SVG tool traces PNG and JPG images with the open-source ImageTracer library. It runs entirely in your browser, so the logo you're working on isn't uploaded anywhere.
- Open the tool and add your PNG or JPG.
- Run the trace and look at the preview.
- If the edges look jagged or there are too many stray specks, prepare a cleaner or larger source image and trace again.
- Download the SVG.
- Open the SVG in a browser and zoom in to check the curves before you use it.
Check the file size too. A clean logo usually makes a small SVG. If the download is far bigger than the source image, the tracer found lots of tiny shapes, a sign the source was too noisy or detailed.
This is the fastest route for a clean logo or icon. For a complicated design, expect to tidy the result in a vector editor.
Think about where the SVG is going before you settle on a result. A logo for a website only needs to look right on screen, so small imperfections rarely matter. Cutting machines and vinyl plotters follow every path exactly, so stray specks become tiny cuts and should be deleted. For print, check that the colors traced as the exact shades you expect, because tracers average nearby colors together.
How to convert JPG to SVG in Inkscape
Inkscape is a free, open-source vector editor for Windows, Mac and Linux. Its tracing gives you more control. Its own manual warns not to expect a perfectly faithful copy of the picture, which is a fair summary of tracing in general.
- Open Inkscape and import the JPG or PNG (File > Import, or drag it onto the canvas).
- Select the image.
- Choose Path > Trace Bitmap, or press Shift+Alt+B.
- Pick a mode. Brightness cutoff creates a single-color silhouette, which suits black logos and signatures. Centerline tracing turns thin strokes into single lines, which suits handwriting. Multiple scans traces several colors as separate layers.
- Click Apply. The traced paths are placed on top of the original image.
- Drag the result aside to compare, then delete the original bitmap.
- Save with File > Save As and choose an SVG format.
Multiple scans gives more color detail but creates many overlapping objects to clean up. Start with fewer colors and add more only if you need them.
How to get a cleaner trace
Most of the quality comes from the input image. A few minutes of prep makes a big difference.
- Start with the largest, sharpest version you can find. More pixels along each edge means smoother curves.
- Crop away everything except the logo with the crop tool, so stray marks don't become shapes.
- Remove or flatten the background. A plain white or transparent background traces far better than a textured one.
- Reduce the colors. For a one-color logo, converting it to black and white first with the grayscale tool and boosting contrast helps the tracer find clean edges.
- Avoid tiny sources. A 100 pixel wide logo has too little edge information, and the curves will look lumpy at any size.
After tracing, zoom in on corners and small text. Tracers tend to round off sharp corners and merge letters that sit close together. If that happens, try a larger source or fix those spots by hand.
When to redraw instead of trace
If the logo matters, such as a company brand going onto signs or shirts, a trace is a starting point. A designer can redraw it in a vector editor, using the trace as a guide, and produce clean, minimal paths with exact colors.
Before any of that, ask whoever made the logo for the original vector file. An AI, EPS, PDF or SVG from the designer will always beat a trace. And if you only need a sharp image at one specific size, a high-resolution PNG might do the job without any conversion.
Going the other direction is much simpler, because an SVG can be rendered at any pixel size. The guide to opening SVG files and saving them as PNG or JPG covers that.
Free tools that run in your browser
Frequently asked questions
How do I convert an image to SVG for free?
Use a free tracer such as a browser-based PNG to SVG tool or Inkscape's Trace Bitmap. Both turn the pixels into vector paths at no cost.
How to convert PNG to SVG without losing quality?
Start with a large, sharp PNG with few colors and a plain background. Simple logos trace almost perfectly, while photos always lose detail.
Can you convert any JPG to SVG?
Any JPG can be traced, but only simple images with flat colors and clear edges give a good result. Photos turn into flat color patches.
Why is my SVG blurry when I zoom in?
The converter probably embedded the JPG or PNG inside the SVG without tracing it. Use a tool that traces the image into vector paths.
Is Inkscape free for JPG to SVG?
Yes. Inkscape is free and open source, and its Trace Bitmap feature is under the Path menu.