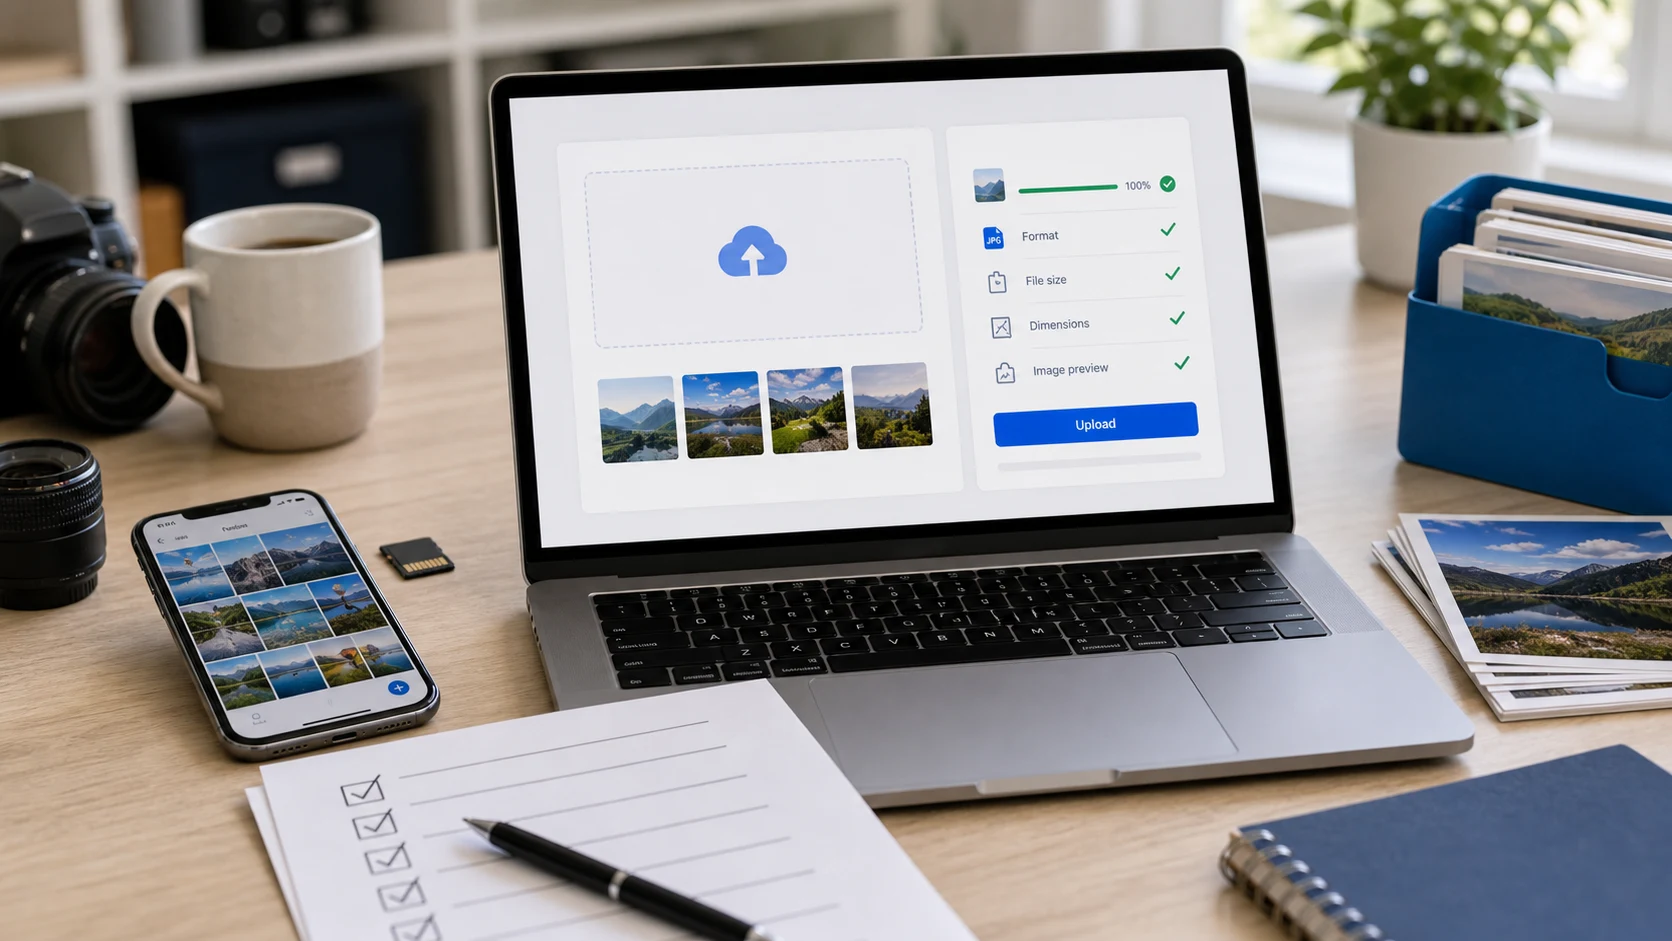
To resize a photo in cm, convert the centimetres to pixels at a DPI, then resize to those pixels. The formula is pixels = cm / 2.54 x DPI. A 3.5 x 4.5 cm photo at 300 DPI is about 413 x 531 pixels. Crop to the right shape first, resize, then compress the JPG to the form's KB limit.
Online forms often mix three kinds of numbers: a print size in cm, a pixel size, and a file size in KB. They measure different things, and a photo has to pass each check. This guide shows how they connect and the order that gets you there in one pass.
How cm, DPI and pixels fit together
A digital photo has no real size in centimetres. It only has pixels. Centimetres appear once you decide how many pixels go into each inch of paper, which is the DPI (dots per inch). So a size in cm only becomes a pixel size after you pick a DPI.
The maths, using 2.54 cm per inch:
- pixels = cm / 2.54 x DPI
- cm = pixels / DPI x 2.54
Some worked examples for common form sizes:
- 3.5 x 4.5 cm at 300 DPI: about 413 x 531 pixels.
- 3.5 x 4.5 cm at 200 DPI: about 276 x 354 pixels.
- 2.5 x 3.5 cm (width x height) at 200 DPI: about 197 x 276 pixels. That's the PAN card photo spec from Protean.
- 6 x 2 cm signature at 200 DPI: about 472 x 157 pixels. At 300 DPI it's about 709 x 236.
- 2 x 2 inches (5.1 x 5.1 cm) at 300 DPI: 600 x 600 pixels.
If the form names a DPI, use it. If it gives only cm, 300 DPI is the usual print standard, and 200 DPI gives a smaller file that is easier to fit under a tight KB limit. The 300 DPI guide explains what the DPI number does and doesn't change.
3.5 x 4.5 cm in pixels: the passport size photo
3.5 x 4.5 cm (35 x 45 mm) is the most common size in Indian forms and passport-style photos. The width is 3.5 cm and the height 4.5 cm, a 7:9 shape that the 35:45 crop ratio matches exactly.
- At 300 DPI: about 413 x 531 pixels.
- At 200 DPI: about 276 x 354 pixels.
- At 100 DPI: about 138 x 177 pixels, too small for print but sometimes accepted on screens.
Many exam portals skip cm altogether and list only a KB range, while others give exact pixels. Always follow the current notice for your form. The passport size photo guide covers the Indian passport rules, and the PAN card photo guide covers the 20 KB PAN limit.
How to resize a photo in cm with the Resize Image tool
You don't need to do the maths yourself. Resize Image accepts cm, mm or inches with a DPI and works out the pixels.
- Start from the original photo, not a WhatsApp copy or a screenshot. Those are already compressed and often cropped.
- Open Resize Image and add the photo. iPhone HEIC files should be converted to JPG first if the form wants JPG.
- Choose cm as the unit and type the width and height, for example 3.5 and 4.5.
- Set the DPI from the form, or 300 if none is given.
- Pick Exact (cover) mode. It fills the whole frame and trims the edges evenly, so the face isn't squashed.
- Check the preview. The face should be centred with a little space above the head.
- Set a maximum file size in KB if the form has one, then download the JPG.
If the automatic trim cuts off the top of the head, crop by hand first with Crop Image using the 35:45 ratio, then resize the cropped photo.
Photo resize in cm and KB: get the file size right
A size in cm says nothing about KB. A 3.5 x 4.5 cm photo at 300 DPI can be 30 KB or 300 KB depending on JPG quality and detail. That's why forms state both, and why the KB step comes last.
- Resize to the cm or pixel size first.
- Then compress the JPG until it fits inside the KB range. Resize Image has a max KB field, or use a fixed target page such as resize image to 50KB.
- Aim a little below the maximum, for example 45 KB for a 50 KB cap, since some sites count 1 KB as 1,000 bytes and others as 1,024.
- Check the minimum too. If the result falls under it, raise the quality or use a higher DPI.
- Open the final file at full size and look at the face. Blotchy skin or blurred eyes mean the compression went too far.
A lower DPI gives you fewer pixels and makes a small KB target easier. If 300 DPI won't fit under 20 KB without visible damage, and the form doesn't insist on 300, try 200.
Photo resize in pixel: when the form gives pixels
If the form lists pixels, ignore cm and DPI and type the pixels directly. The pixel numbers are what the system checks. You can do it in a browser tool or with built-in apps:
- Resize Image: choose pixels, enter the width and height, and use Exact (cover) mode so nothing stretches.
- Windows 11 Photos: open the photo, click the three dots menu, choose Resize image, then pick pixels and enter the size before saving.
- Paint on Windows: Resize and Skew (Ctrl+W), choose Pixels, enter the numbers, then File > Save as.
- Preview on a Mac: Tools > Adjust Size. The unit menu offers pixels, percent, inches, cm, mm and points, and the Resolution field sets pixels per inch, so you can type 3.5 x 4.5 cm and 300 directly.
If the photo is the wrong shape, a plain resize either keeps the wrong shape or stretches the face. Crop to the right ratio first, then resize.
To check the result on Windows, right-click the file, choose Properties and open Details. On a Mac, open it in Preview and choose Tools > Show Inspector.
Why the form still rejects the resized photo
- The dimensions are off by a pixel or two, or width and height are swapped. Portrait photos are taller than wide.
- The file is a PNG or HEIC renamed to .jpg. Convert it properly instead.
- The file is below the minimum KB size. Many forms set a lower limit as well as an upper one.
- The photo was stretched to fit. Faces look wide or thin, and some systems detect distortion.
- The background, face size or recency rules aren't met. Those are checked separately from size.
- The photo shows sideways after upload. Rotate it in an editor and save a new copy so the rotation is applied to the pixels.
Fix the one thing that failed and keep everything else. Starting again from the original photo is better than compressing a compressed file a second time.
Free tools that run in your browser
Frequently asked questions
How do I resize a photo in cm?
Pick a DPI, convert cm to pixels with cm / 2.54 x DPI, and resize to those pixels. Tools with a cm mode, such as Resize Image or Mac Preview, do the conversion for you.
What is 3.5 x 4.5 cm in pixels?
About 413 x 531 pixels at 300 DPI, or about 276 x 354 pixels at 200 DPI. Use the DPI the form specifies if it names one.
How do I resize a photo in cm and KB?
Resize to the cm size first, then compress the JPG until it fits the KB range. Aim slightly below the maximum and check that the face stays sharp.
How do I do a photo resize in pixel size?
Enter the exact width and height in a resize tool with an exact or cover mode, or use Windows Photos, Paint or Mac Preview. Crop to the right shape first so nothing stretches.
Which DPI should I use for an online form photo?
Use the DPI in the notice. If none is given, 300 DPI is the print standard, and 200 DPI makes small KB limits easier to hit.