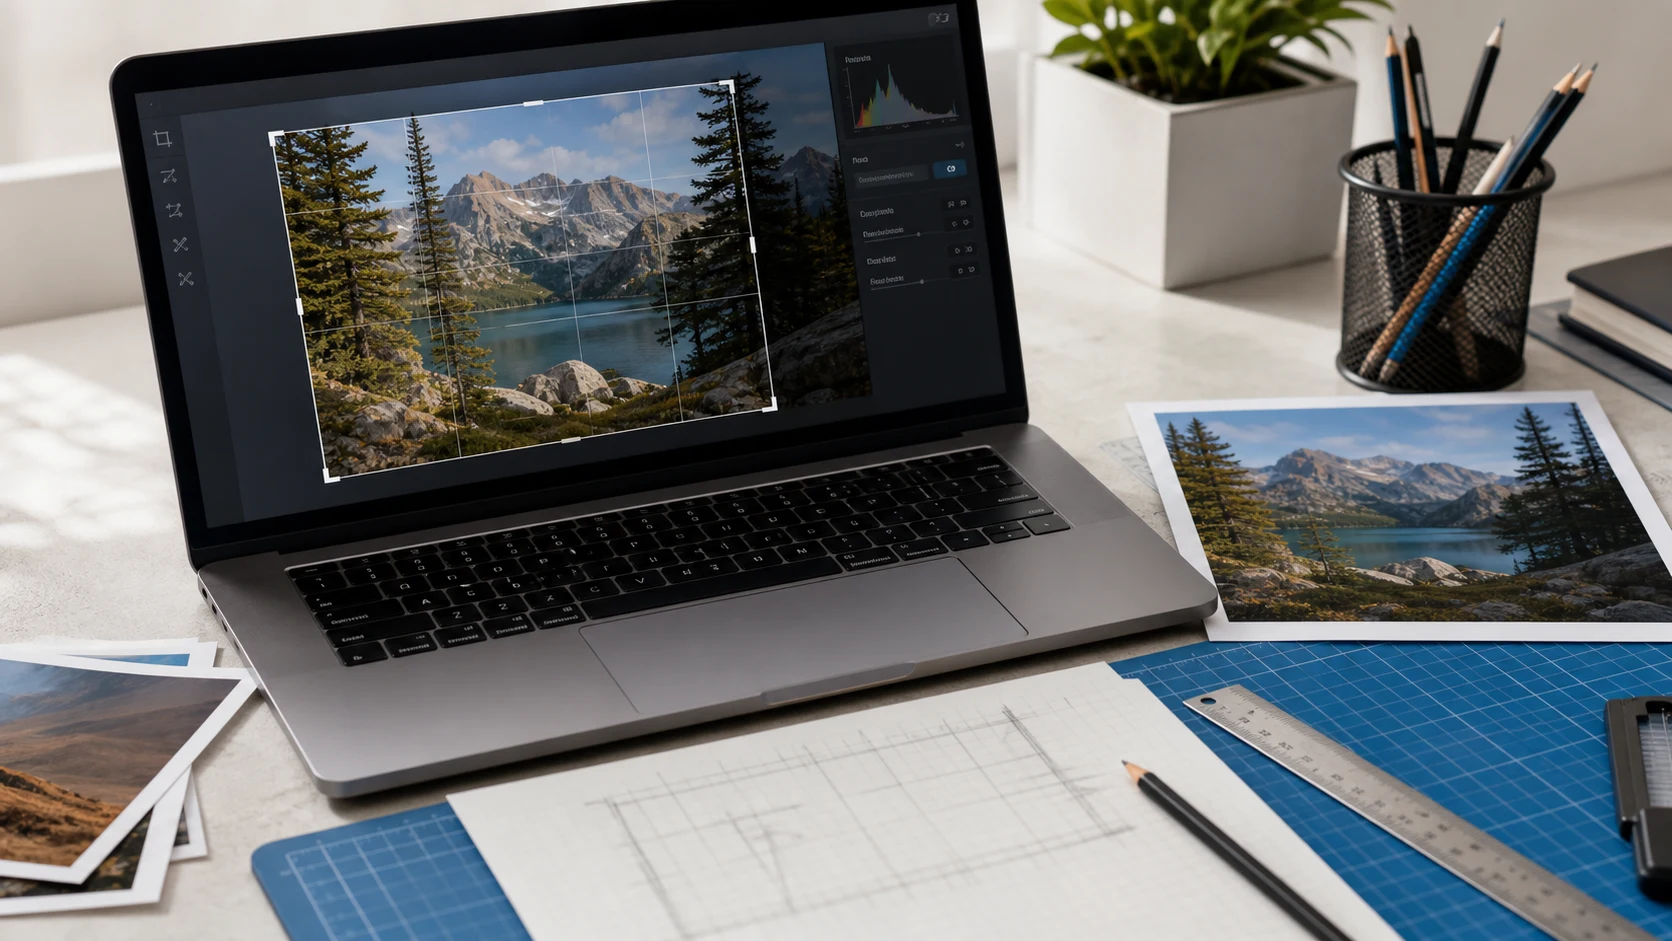
To crop an image on a Mac, open it in Preview, click Show Markup Toolbar, choose Rectangular Selection, drag over the part you want to keep and click Crop. In the Photos app, click Edit, then Crop. On iPhone, open the photo in Photos, tap Edit, tap Crop, adjust the frame and tap Done.
Below are the exact steps for Mac, iPhone, Windows and Android, plus a way to crop pictures online in a batch and a quick guide to which shape to crop to.
How to crop an image on Mac with Preview
Preview comes with every Mac and handles JPG, PNG, HEIC and most other image files. Apple lists the same steps on its Preview crop and resize page.
- Open the image in Preview. Double-click it in Finder if Preview is your default viewer.
- Click the Show Markup Toolbar button if the toolbar isn't visible.
- Click the Rectangular Selection button.
- Drag across the part of the image you want to keep. You can drag the edges of the selection to fine-tune it.
- Click the Crop button in the Markup toolbar.
- Choose File > Save, or File > Export to keep the original and save the crop as a new file.
To see the exact size of your selection in pixels, choose Tools > Show Inspector and click the Crop Inspector button. That helps when a form or website needs a minimum width and height.
Made a mistake? Choose Edit > Undo Crop straight away. If you already saved, File > Revert To > Browse All Versions lets you pick a version from before the crop.
How to crop a photo on Mac in the Photos app
If the picture is in your Photos library, crop it there. Edits in Photos can always be reverted, and you get aspect ratio presets. Apple's guide to cropping in Photos on Mac covers the same controls.
- Double-click the photo, then click Edit in the toolbar.
- Click Crop in the toolbar, or press C.
- Pick an aspect ratio such as Square, 4:5 or 16:9, or choose Custom. Click Auto if you want Photos to suggest a crop.
- Drag the selection rectangle to frame the picture. Use the Straighten slider if the horizon is tilted.
- Click Done.
The crop shows everywhere the photo appears in Photos, including albums. To undo it later, open the photo, click Edit, then Revert to Original. To get a separate cropped file, choose File > Export after cropping.
How to crop a screenshot on Mac
The fastest crop is the one you never have to make. Press Shift-Command-4 and drag across the part of the screen you want, and the Mac saves only that area. Press Shift-Command-5 instead for an on-screen toolbar with the same selection option.
If you already took a full-screen shot, click the thumbnail that appears in the corner of the screen right after capture. It opens a markup window with a crop button, so you can trim the edges before the file is saved. For older screenshots, open the file in Preview and use the Rectangular Selection steps above.
Mac screenshots are usually PNG files. That's ideal for text and interface shots, but large for photos, so convert or compress them before emailing a batch.
How to crop a picture on iPhone
The Photos app crops without any extra app.
- Open the Photos app and tap the picture.
- Tap the Edit button.
- Tap Crop.
- To lock a shape, tap the aspect ratio button and pick an option such as Square, Freeform or a fixed ratio.
- Drag the corners of the frame, or pinch and drag the photo inside it.
- Tap Done.
The original isn't lost. Open the photo, tap Edit, then Revert to go back to it. Revert removes all your edits, not only the crop. If you want both versions side by side, duplicate the photo before cropping.
For several photos that need the same crop, recent iOS versions let you copy edits from one photo and paste them onto others from the photo's More menu. That works best when the photos were taken from the same spot.
How to crop a picture on Windows 11 and Android
Windows 11 Photos and Paint
- Open the picture in Photos.
- Click Edit image at the top. The crop tool opens first.
- Drag the corner handles, or pick an aspect ratio preset such as square or 16:9.
- Rotate or straighten the picture if it's tilted.
- Click Save options and choose Save as copy to keep the original untouched.
Paint also crops. Use the Select tool to draw a rectangle around the area to keep, click Crop, then choose File > Save as.
Android with Google Photos
- Open the picture in Google Photos and tap Edit.
- Tap Crop. Drag the crop handles, or tap the aspect ratio option to choose a shape such as square.
- Tap Save to replace the original, or Save as copy to keep both.
Samsung Gallery and other built-in gallery apps work in a similar way, with an edit (pencil) button and a crop option.
How to crop pictures online, one or many at once
Built-in apps crop one picture at a time. When a set of product photos, team headshots or document scans all need the same shape, a browser tool saves a lot of clicks. You can crop picture files online with ConvertorLab's Crop Image tool, which processes them in your browser without uploading them.
- Open Crop Image and add your pictures.
- Pick a ratio: 1:1, 4:5, 9:16, 16:9, or 35:45 for passport photos. Or crop freely.
- Position the frame on the first picture. Rotate or flip it if needed.
- Use crop one, apply all to repeat the same crop on every picture, then adjust any where the subject sits differently.
- Download the results, as a ZIP if there are several.
The same page works on a phone or a Chromebook, where you might not have a full photo editor.
Crop or resize? And which ratio to choose
Cropping cuts away the edges. The part you keep stays as sharp as it was, but the image gets fewer pixels and may change shape. Resizing keeps the whole picture and scales it to a new pixel size. If a site wants exactly 1080 x 1350 pixels, crop to 4:5 first, then use Resize Image to scale it. The usual order is crop, then resize, then compress.
Match the ratio to where the picture is going:
- 1:1 square: profile pictures, product thumbnails and many marketplace listings.
- 4:5 portrait: Instagram feed posts and 8 x 10 prints.
- 9:16 vertical: Stories, Reels and phone wallpapers. Current platform sizes are in the social media image size guide.
- 16:9 wide: YouTube thumbnails, slides and website banners.
- 35:45: passport and ID photos that ask for 35 x 45 mm. The passport size photo guide has the full spec.
- 2:3: 4 x 6 inch prints, the same shape as most camera photos. The standard photo sizes guide lists other print shapes.
A few habits help. Leave a little space in front of a face in the direction the person is looking. Avoid cutting through joints like wrists or knees. And remember that a tight crop from a small photo can look soft when shown large, so start from the original file.
Free tools that run in your browser
Frequently asked questions
How do I crop an image on a Mac?
Open it in Preview, click Show Markup Toolbar, choose Rectangular Selection, drag over the area to keep and click Crop. Then save or export the file.
How do I crop a photo on Mac in the Photos app?
Double-click the photo, click Edit, then Crop (or press C). Drag the frame or pick a ratio such as Square, then click Done.
How do I crop a picture on iPhone?
Open the photo in Photos, tap Edit, then Crop. Drag the frame or choose an aspect ratio, then tap Done. Tap Edit and Revert later to undo it.
Can I crop a picture online for free?
Yes. ConvertorLab's Crop Image tool crops in your browser without uploading files, with ratios like 1:1, 4:5 and 35:45 and a crop one, apply all option.
Does cropping reduce image quality?
Cropping removes pixels around the edges but doesn't blur what's left. Quality suffers only if you then enlarge a tight crop.
How do I crop a picture into a square?
Choose the Square or 1:1 aspect ratio in your editor before dragging the frame. In Photos on Mac and iPhone, Square is one of the presets.