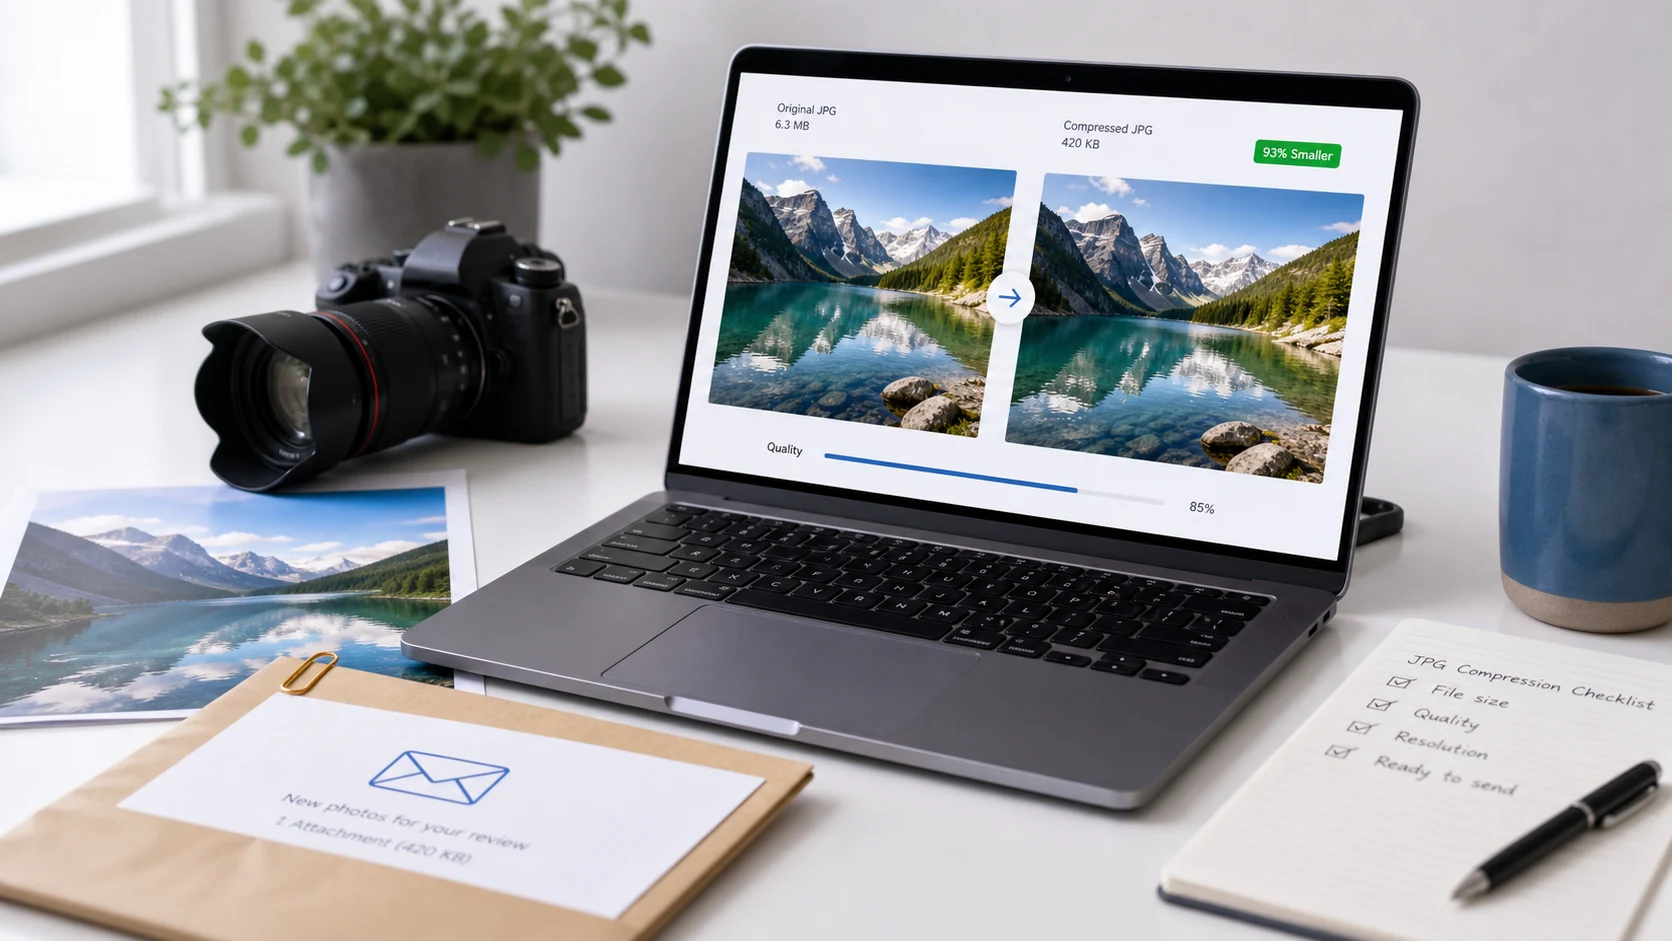
To make a JPEG smaller, save it again at a lower quality setting (around 70 to 85 works for most photos). If the file is still too big, reduce its width and height in pixels. Quality controls how much fine detail gets thrown away. Dimensions control how many pixels there are to store at all. Most oversized photos need both.
The usual mistake is pushing quality very low on a 4000 pixel wide phone photo that a form will only ever show at 400 pixels. Shrink the dimensions first and you can keep a decent quality setting. Below is how to compress a JPEG on a Mac, on Windows 11 and in a browser, plus how to hit an exact KB limit.
What makes a JPEG file so big?
Three things decide the size of a JPEG: how many pixels it has, the quality setting it was saved with, and how busy the picture is. A photo of a clear blue sky compresses well. The same camera aimed at gravel, leaves or a patterned carpet stays large at any setting, because fine random texture is expensive to encode.
Phone cameras save at high quality and full sensor resolution. That's the right default for keeping memories. It's the wrong default for an upload form, an email to a landlord, or a page on your website.
Metadata adds a little too. EXIF data (camera model, date, sometimes GPS location) and an embedded thumbnail can add a few kilobytes. Stripping it rarely matters on a 3 MB photo, but it can decide whether a file squeezes under 20 KB.
Low light photos are a special case. They carry visible grain, and grain looks like detail to the encoder. Those files stay heavy until you shrink the dimensions.
How to compress a JPEG file to a specific size in KB
Government portals, job sites and exam forms often ask for a photo under 20 KB, 50 KB, 100 KB or 200 KB. Guessing a quality number, saving, and checking the size again gets tedious fast. A tool that takes a target size does that search for you.
- Open the Compress JPG tool and add your photo.
- Type the size limit the form gives you. Aim a little under it, such as 190 KB for a 200 KB limit.
- Start the compression. The tool lowers quality first and only cuts the pixel dimensions if quality alone can't reach the target.
- Download the result and view it at 100% zoom. Check that faces and any printed text are still clear.
The photo is processed in your browser, so it isn't uploaded anywhere. For the most common limits there are preset pages: resize image to 20 KB and resize image to 50 KB or 100 KB from the same menu.
Why aim under the limit? Some sites count a kilobyte as 1,000 bytes and others as 1,024, so a file that shows 200 KB on your computer can read as slightly over on theirs. The guide on how many KB are in a MB explains the two counting systems.
Very small targets need small dimensions. A passport style photo at 20 KB usually ends up a few hundred pixels wide, and forms that ask for 20 KB expect that. If the form also states pixel dimensions, set those first and compress second.
How to compress a JPEG on Mac with Preview
Preview, the image viewer built into every Mac, has a JPEG quality slider. It's the quickest way to compress a JPEG on Mac without installing anything.
- Open the photo in Preview.
- Choose File > Export.
- Set Format to JPEG. A Quality slider appears.
- Drag the slider toward Least. Preview updates the estimated file size as you move it, so stop when the number fits.
- Give the copy a new name and click Save. Your original stays untouched.
If the slider alone can't get the file small enough, shrink the pixels too. Choose Tools > Adjust Size, keep Scale proportionally ticked, and enter a smaller width. Preview shows the resulting file size in the same window before you click OK. Apple covers the export step in its Preview guide to converting image file types.
A sensible order on a Mac: Adjust Size to roughly the width you need, then Export with the quality slider somewhere in the middle. That usually looks better than leaving full size and dragging quality all the way down.
How to reduce the file size of a JPG on Windows 11
The Photos app in Windows 11 can't set a JPEG quality number, but it can resize. Since dimensions drive most of a photo's weight, resizing alone often cuts the file by a large amount.
- Open the photo in Photos.
- Select See more (the three dots) in the toolbar.
- Choose Resize image.
- Pick Pixels or Percentage and enter a smaller width. Keep the aspect ratio locked so the photo doesn't stretch.
- Save, and choose to keep the result as a copy if you're offered the option.
Photos doesn't let you type a KB target. If a form has a hard limit, resize in Photos and then run the copy through a target size compressor, or skip straight to the compressor.
Which JPEG quality setting should you use?
There's no universal number, and apps use different scales. Preview uses a slider from Least to Best, while most editors use 0 to 100. Still, a few patterns hold on a 0 to 100 scale:
- 90 and above keeps nearly everything and produces big files. Use it for prints or images you'll edit again.
- Around 75 to 85 is where most photos look the same as the original at normal viewing size, with a much smaller file.
- Around 60 to 70 is fine for thumbnails, previews and document photos that only need to be readable.
- Below 50 you start to see blocky squares in smooth areas like sky and skin, plus halos around text and sharp edges.
Each time you re-save a JPEG it loses a little more detail. Keep your original and always compress from it, never from a copy you already compressed.
If the image is a screenshot, a logo or mostly text, JPEG is often the wrong format. Letters pick up fuzzy edges, and PNG usually gives a sharper and sometimes smaller file. The PNG compression guide covers that case.
How to make a photo smaller without visible quality loss
The trick is to match the image to where it will be shown. A few habits help:
- Resize to the display size. A blog image shown 1200 pixels wide doesn't need 4000. A profile photo rarely needs more than about 800.
- Crop first. Cutting away empty wall or floor removes pixels you were paying for. A crop tool with fixed ratios makes 1:1 or 35:45 ID crops quick.
- Pick the format by content. Photos suit JPEG or WebP. Screenshots and flat graphics suit PNG.
- Check at 100% zoom on the busiest part of the picture. If faces and text look clean there, the rest will be fine.
For websites, WebP usually gives a smaller file than JPEG at similar quality, and all current major browsers display it. Upload forms are a different story: many still accept only JPG, so stick with JPEG there.
Why is my JPEG still too large after compressing?
A few causes come up again and again:
- The image is still at full camera resolution. Reduce the dimensions; quality alone can only go so far.
- The photo is detailed or grainy, like a night shot. Grain is hard to compress, so it needs smaller dimensions.
- The file is really a HEIC or PNG renamed to .jpg. Renaming changes nothing inside the file, so convert it properly. The guide on what a HEIC file is explains why iPhone photos cause this.
- The portal counts kilobytes differently. Leave a margin of a few KB under the limit.
When a form still rejects the file after it fits the size, the cause is usually the format, pixel dimensions or background color. If it's an ID photo, compare it against the rules in the passport size photo guide before trying again.
Free tools that run in your browser
Frequently asked questions
How do I compress a JPEG file for free?
On a Mac, use File > Export in Preview and drag the Quality slider down. On any device, a browser compressor that takes a target size in KB does it without installing anything.
How do I compress a JPEG on Mac?
Open the photo in Preview, choose File > Export, set Format to JPEG and move the Quality slider toward Least. Preview shows the estimated file size as you drag.
Does compressing a JPEG reduce its resolution?
Lowering the quality keeps the same pixel dimensions and only discards fine detail. Resolution changes only if you or the tool also resize the image, which is often needed for small targets like 20 KB.
Can I reduce the file size of a JPG without losing quality?
Only a little. Stripping metadata saves a few kilobytes losslessly, but real reductions discard some detail. At settings around 75 to 85 the loss is hard to see at normal size.
Why do upload forms reject my JPEG after I compress it?
The form may also check pixel dimensions, aspect ratio or the real file type. A HEIC or PNG renamed to .jpg is still the original format inside, so convert it properly before uploading.