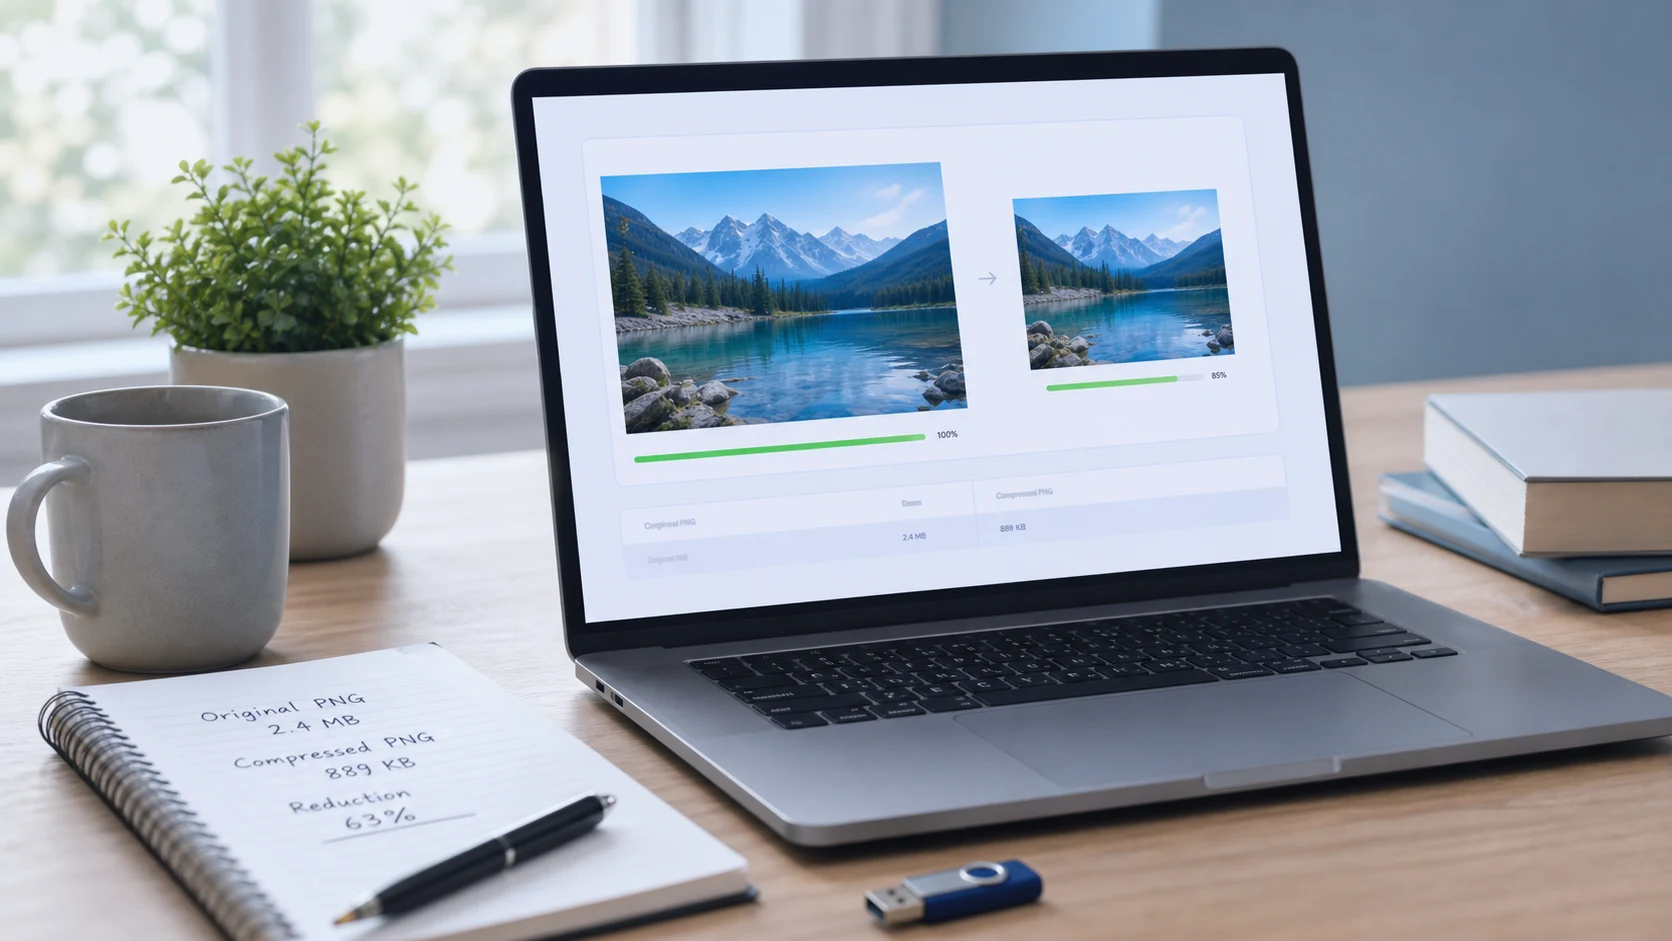
To reduce PNG size, either re-encode it with a lossless optimizer, which packs the same pixels more tightly, or cut it to a palette of 256 colors or fewer, which shrinks it far more. Color reduction is technically lossy, but on screenshots, logos and icons the change is usually invisible. Photos saved as PNG shrink most by converting to JPG.
Shrinking the pixel dimensions helps with every kind of PNG. This guide covers both compression methods, the built-in options on Mac and Windows, and the cases where a different format is the real fix.
Why are PNG files so large?
PNG is a lossless format. Every pixel is stored exactly, so the file has to describe all of them. That works well when large areas share the same color, like a screenshot of a settings page or a flat logo. The compressor finds the repeats and packs them tightly.
It works badly on photos. A photo has subtle variation in almost every pixel, so there's little to repeat. A camera photo saved as PNG is usually several times larger than the same photo as a JPEG, with no visible benefit. If you want the background on the format itself, see what a PNG file is.
Other things that inflate PNGs:
- Full color mode with an alpha channel when the image only uses a handful of colors.
- Large dimensions, such as a screenshot of a whole high resolution monitor.
- Extra data chunks like color profiles, text comments or editing data from design apps.
- Weak compression settings in the app that saved the file.
How to reduce PNG file size: lossless or color reduction?
These two methods give very different results, so it helps to know which one a tool is applying before you compress PNG files you care about.
Lossless PNG optimization
The pixels stay identical. The tool tries better filter choices and stronger DEFLATE compression, and drops metadata you don't need. Savings are modest and depend on how well the original app compressed the file the first time. Use this for anything where exact pixels matter: technical diagrams, UI mockups going to a developer, and images you'll edit again.
Color reduction (palette or "lossy" PNG)
The tool picks the best set of up to 256 colors and maps every pixel to one of them, with dithering to hide the steps. The result is still a normal PNG that any app opens, transparency included, and it's often a fraction of the original size. On a screenshot or a logo you'll struggle to spot the difference. On a gradient, a soft shadow or a photo you may see banding.
A sensible rule: try color reduction first on screenshots, icons and illustrations. If you see banding in smooth areas, fall back to lossless.
How to compress PNG files online without uploading them
The Compress PNG tool does both kinds of compression in your browser, so the image never leaves your device.
- Open the tool and drop in one or more PNG files.
- Pick lossless if you need identical pixels, or color reduced for the smallest file.
- If a form gives you a hard limit, enter a target size in KB. The tool tries quality first and only reduces dimensions if it has to.
- Download the result and compare it with the original at 100% zoom, especially around gradients and shadows.
Transparency is kept either way, so logos still sit cleanly on colored backgrounds. When you set a KB target, leave a small margin under the limit. Sites don't all count a kilobyte the same way, as the guide on how many KB are in a MB explains.
How to reduce the size of a PNG on Mac or Windows
Neither operating system has a PNG optimizer built in. Both can reduce the pixel dimensions, though, and that's often the biggest saving of all.
On a Mac with Preview
- Open the PNG in Preview.
- Choose Tools > Adjust Size.
- Keep Scale proportionally ticked and enter a smaller width.
- Check the resulting size Preview shows at the bottom of the window, then click OK and save.
Apple's guide to resizing images in Preview has the details.
On Windows 11 with Photos
- Open the image in Photos.
- Select See more (the three dots) and choose Resize image.
- Pick Pixels or Percentage and enter a smaller size.
- Save it as a copy so the original stays intact.
A full width screenshot from a high resolution display is often twice as wide as it needs to be for a document or help article. Halving the width cuts the pixel count to a quarter, and the file usually drops by a similar share.
How to reduce PNG size for an upload form
Forms are stricter than websites. They often set a KB ceiling, sometimes fix the pixel dimensions, and many accept only JPG. Work through it in this order:
- Read the rules on the form: maximum size, accepted formats, and any required width and height.
- If the form lists exact dimensions, resize to those first. Everything after that is easier.
- If PNG is accepted, compress with color reduction and a KB target slightly under the limit.
- If only JPG is accepted, convert instead. Transparent areas turn into a solid color in JPG, usually white, so check the edges of signatures and logos.
Signatures scanned as PNG are a common case. They're mostly white with thin dark strokes, so color reduction shrinks them very well while keeping the ink crisp.
When should you convert a PNG to JPG or WebP instead?
Compression can only do so much when the format doesn't fit the content. Switch formats when:
- The image is a photo with no transparency. Converting it with PNG to JPG usually gives the biggest drop in size.
- The image is going on a website. WebP supports transparency and is usually smaller than PNG for the same picture, and all current major browsers display it.
- A form only accepts JPG. Many upload portals do.
Keep PNG when you need sharp text, transparency in a format every app opens, or exact pixels. Converting a screenshot to JPG tends to add blurry halos around letters, and a busy screenshot can even come out larger than the PNG did.
For a side by side of when each format makes sense, read the difference between PNG and JPG.
Common mistakes when you reduce the size of a PNG
- Saving photos as PNG "for quality". The gain is invisible and the file is huge.
- Color reducing a PNG you'll edit later. Keep a lossless master and export the reduced version at the end.
- Flattening transparency by converting to JPG, then finding a white box around the logo.
- Running color reduction twice. Each pass can add more banding, so always start from the original.
- Ignoring dimensions. A 3000 pixel wide icon stays big no matter how well it's compressed.
Check the result where it will actually appear. A PNG that looks fine on a white page can show rough, jagged edges on a dark background. That's a sign the color reduction went too far, so try again with more colors or switch to lossless.
Free tools that run in your browser
Frequently asked questions
How do I reduce the file size of a PNG?
Run it through a PNG compressor using color reduction for screenshots and graphics, or lossless mode when pixels must stay exact. Reducing the pixel dimensions also helps a lot.
Can you compress a PNG without losing quality?
Yes. Lossless optimization repacks the same pixels more efficiently and strips unneeded metadata, so the image is identical. The savings are smaller than with color reduction.
Does compressing a PNG remove transparency?
Not if the tool keeps the alpha channel, which both lossless and palette PNG compression can do. Transparency is lost only when you convert to a format like JPG.
Why is my PNG bigger than the JPG version?
PNG stores every pixel exactly, which suits flat graphics and text but not photos. For photos, JPG or WebP discard detail you can't see and end up much smaller.
What is a lossy PNG?
It's a normal PNG whose colors were reduced to a smaller palette, usually 256 or fewer. Any app can open it, and it's much smaller, but gradients can show slight banding.