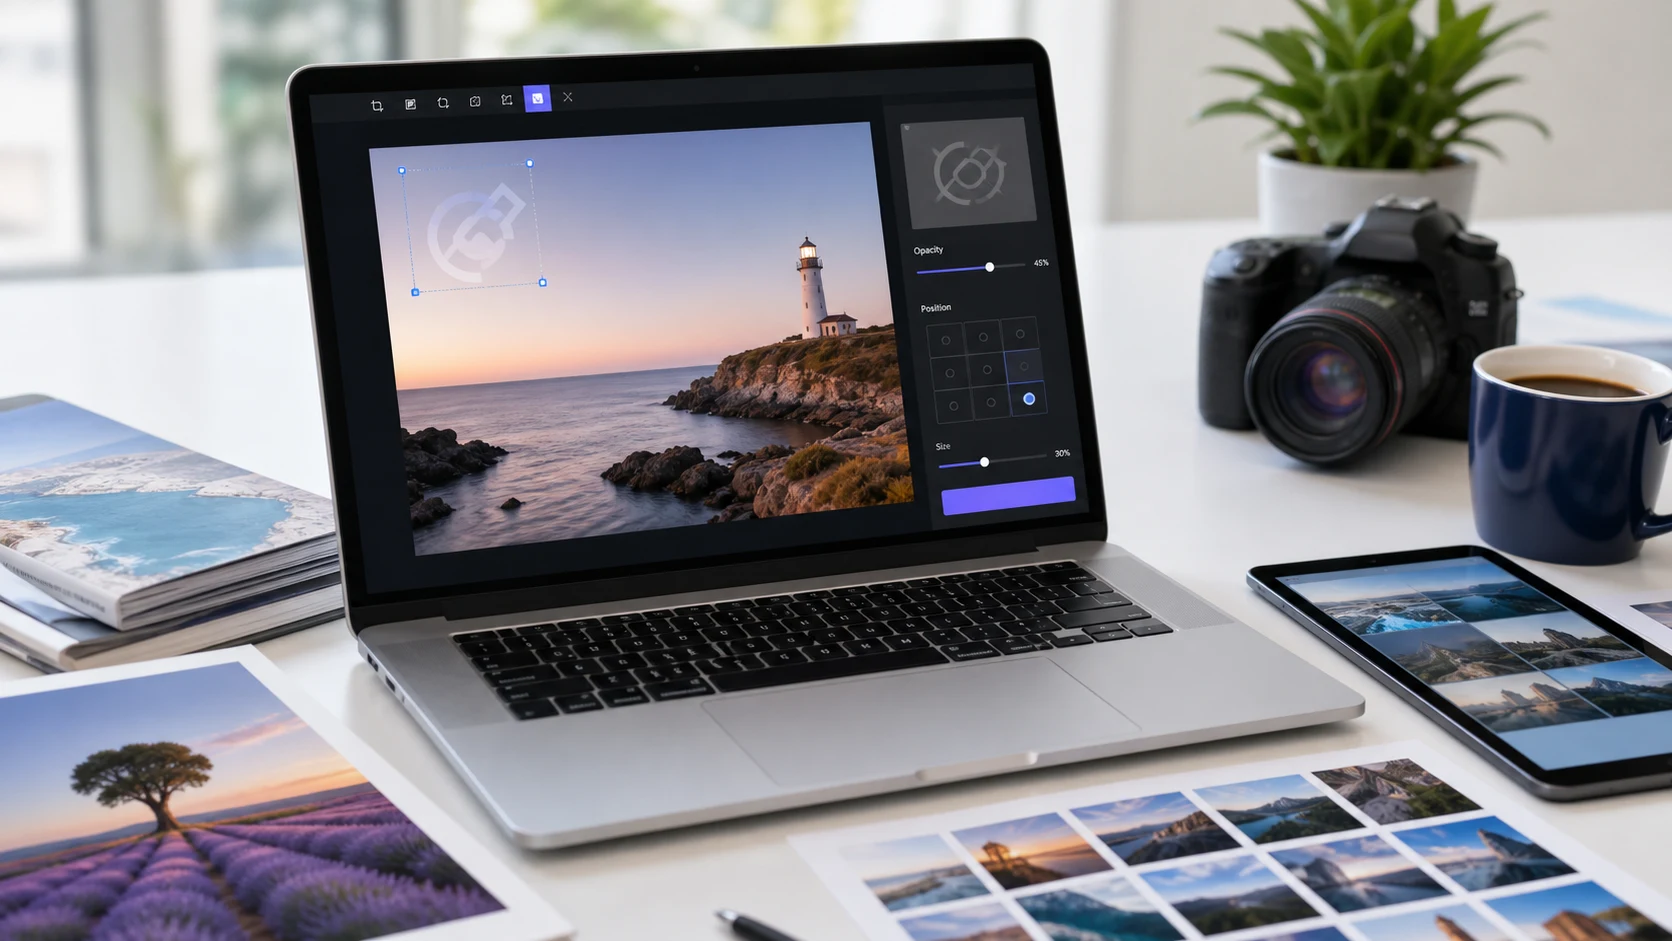
To watermark pictures, place your name, website or logo on each image as semi-transparent text or a graphic, then save a copy and keep the clean original. For a batch, use a watermark tool that applies the same mark, size and opacity to every photo at once. For one picture, the markup tools in Photos, Preview or Paint work.
A good watermark credits you and is hard to crop out, without ruining the photo. Below are the steps for each device, then where to put the mark and how much protection it gives.
How to watermark pictures in a batch
If you're sending a gallery to a client, listing products or posting a series, marking photos one at a time gets tedious, and the marks end up inconsistent. ConvertorLab's Add Watermark tool handles a whole set in one pass. It runs in your browser, so the photos stay on your device.
- Open Add Watermark and add all the photos you want to mark.
- Choose a text watermark (your name, studio or web address) or upload a logo.
- Set the opacity. Somewhere in the middle range is usually readable without dominating the picture.
- Choose the position and size, or switch on tiled mode to repeat the mark across the whole image.
- Preview a light photo and a dark one to check the mark shows up on both.
- Download the watermarked copies.
Text or logo?
A text mark is quickest to set up and easy to read at any size. A logo looks more polished and is better for a business or studio, but thin lines can vanish when the photo is shrunk for social media. If your logo has fine detail, make it larger than feels natural, or use a simplified version for watermarks. Whichever you choose, use the same mark on every image so people learn to recognise it.
For a logo, a PNG with a transparent background looks cleanest, because there's no white box around it. Our guide to what a PNG file is explains why transparency works in PNG and not in JPG.
Resize before you watermark if the photos are going online. The mark then stays the size you chose, instead of shrinking when the image is scaled down later. The Resize Image tool can do the whole set first.
How to watermark photos on iPhone
The Photos app has a built-in Markup editor that can add text to a picture. Apple's Markup guide lists these steps:
- Open Photos and select the photo.
- Tap Edit, then tap the Markup button.
- Tap the Add button and choose Text.
- Type your name or website. Tap the colour circle to change the colour, and the formatting button to change font, size and alignment.
- Drag the text where you want it.
- Tap Done, then Done again.
Photos saves the edit onto the picture in your library. If you want a clean copy and a marked copy side by side, duplicate the photo first. This works well for a quick credit on one or two images.
For a logo, a tiled mark or more than a couple of photos, open the Add Watermark tool in Safari instead. It works on a phone the same way it does on a computer, and handles batches.
How to watermark photos on Android
Google Photos can add text too:
- Open the photo in Google Photos and tap Edit.
- Tap Markup, then Text.
- Type your mark. Touch and hold the text box to drag it into place.
- Tap Save as copy to keep the original untouched.
Other gallery apps, such as those from Samsung or Xiaomi, usually have a similar text option in their edit screen, though the names vary.
How to watermark pictures on a Mac or Windows PC
Mac: Preview
- Open the photo in Preview. Duplicate it first (File > Duplicate) so you keep the original.
- Click the Show Markup Toolbar button, then the Text tool.
- Type your name or website, then drag the text box into place.
- Use the Text Style button to change the font, size and colour.
- Save the file.
Apple's Preview annotation guide covers the other Markup tools. Once saved, the text becomes part of the image, so check it before saving. Preview has no opacity setting for text, which is why the mark can look heavy. A light grey or white in a thin font helps.
Windows: Paint
- Open the photo in Paint.
- Choose the Text tool (the A icon).
- Drag on the image to draw a text box, then type your mark.
- Pick the font, size and colour, and make sure the text has no background fill, so there's no solid box behind the words.
- Click outside the box to apply it, then use File > Save as so the original stays intact.
Paint is fine for a quick credit line. For a faded or tiled watermark, or a folder of photos, a dedicated watermark tool is much quicker.
Where should a watermark go on a photo?
It depends on what you're protecting against.
- For credit on social posts, a small mark in a corner is enough. Pick a corner the platform won't cover with buttons or captions.
- To make cropping harder, move the mark closer to the subject, or across an area that would ruin the picture if cut away.
- For proofs you send before payment, use a tiled watermark across the whole photo at low opacity. It's very hard to remove cleanly.
- For ID copies, write who the copy is for and the date, such as "For Oakview Lettings, October 2026 only". A stolen copy is then much less useful.
- For product photos on marketplaces, check the rules first. Some restrict text or logos on main listing images.
Keep the mark simple. Your name or web address in one clean font reads better than a long copyright line, and a short URL tells people where to find you.
Can a watermark be removed?
Yes, sometimes. A small corner mark can be cropped off, and editing tools can paint over simple text on a plain background. Watermarks deter casual copying and keep your name attached when an image gets shared. They don't make a photo impossible to steal.
To make removal harder:
- Overlap the mark with detailed parts of the image, where painting it out leaves obvious traces.
- Use tiling for anything you send for review.
- Share only web-sized versions online. A 1600 pixel image is far less useful to a thief than the full original.
- Keep your unmarked originals private and backed up.
Before you send a batch of finished images, name them clearly too. The guide to renaming multiple files at once shows how, and our guide to the best way to send large files covers getting them to the client.
Free tools that run in your browser
Frequently asked questions
How do I watermark pictures for free?
Use a free browser tool like Add Watermark for batches. For a single image, the built-in markup in Photos, Google Photos, Mac Preview or Windows Paint works.
How do I watermark photos on iPhone?
Open the photo in Photos, tap Edit, then Markup. Tap the Add button, choose Text, type your mark, then tap Done twice.
How do I watermark multiple photos at once?
Use a batch watermark tool. Add all the photos, set the text or logo, opacity and position once, and download marked copies of the whole set.
What should a photo watermark say?
Your name, studio name or a short web address is enough. For ID copies, add who the copy is for and the date.
How transparent should a watermark be?
Mid-range opacity usually works: visible on both light and dark areas without hiding the photo. Check it on a light image and a dark one before exporting.
Can someone remove my watermark?
A small corner mark can be cropped or painted out. A tiled mark that crosses detailed parts of the image is much harder to remove cleanly.