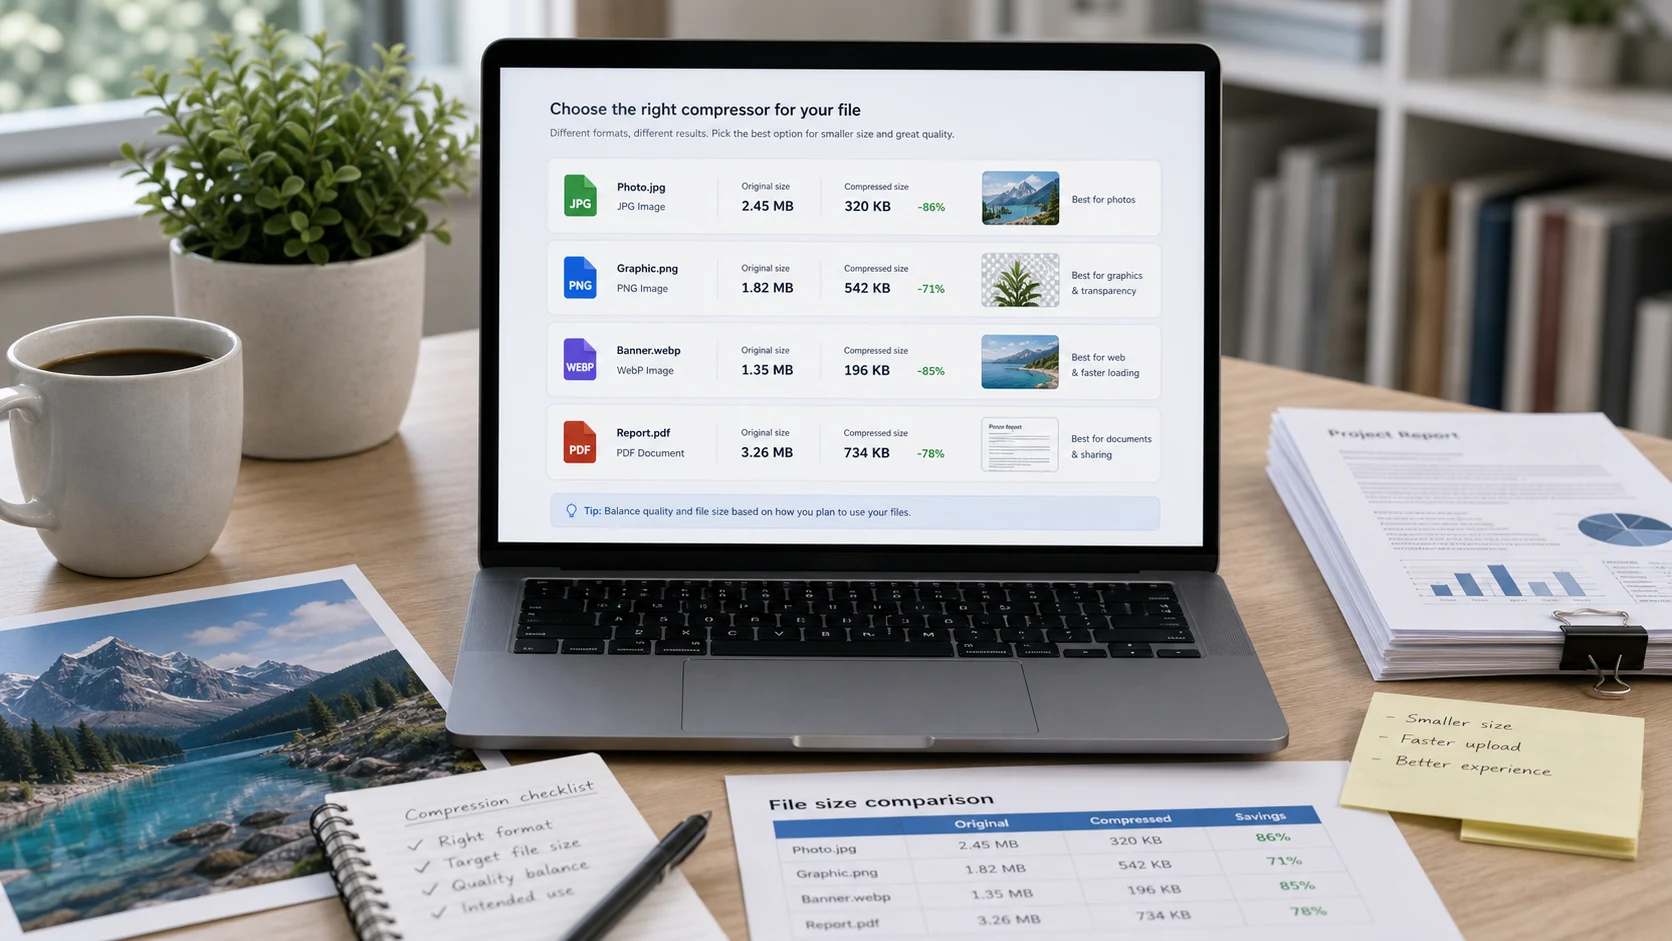
To reduce an image's file size, make it smaller in pixels, save it at a lower quality, or switch to a more efficient format. For a photo, resize it to around 1000 to 2000 pixels wide and save it as JPG at quality 75 to 85. That usually cuts the file to a fraction of its size with no visible change. For a screenshot or logo, keep PNG and reduce the number of colors.
What makes an image file large?
Three things decide the size of an image file:
- Pixel dimensions. A 4000 x 3000 photo has 12 million pixels. Halve the width and height and you have a quarter of the pixels to store.
- Quality setting. JPG and WebP throw away detail you're unlikely to notice. Lower quality throws away more and gives a smaller file.
- Format. JPG suits photos. PNG is lossless and great for screenshots and graphics, but a photo saved as PNG gets very large. WebP is often smaller than both.
Detail in the picture matters too. A photo of grass or gravel compresses less well than a photo of a clear sky, even at the same settings. Camera noise from low light has the same effect, so night photos often come out larger.
How to reduce image file size without losing quality
You can't shrink a photo much without losing some data. You can shrink it a lot without losing anything you'd see. The order matters:
- Decide where the image will be used. A web page, email or upload form rarely shows an image wider than 2000 pixels, and many need far less.
- Resize to that size first. Fewer pixels means a smaller file at any quality setting.
- Save as JPG or WebP at a quality around 75 to 85 for photos. Below that, check faces and fine edges for blockiness.
- For screenshots, diagrams and logos, keep PNG and reduce colors rather than switching to JPG, which blurs sharp text.
- Compare the result with the original at 100% zoom before you delete anything.
If you only need a smaller file and not smaller dimensions, lower the quality alone. If the image is far bigger than it'll ever be shown, resize first and leave quality fairly high.
How to make a photo smaller file size to meet an upload limit
Job portals, exam forms and government sites often set limits like "under 100 KB" or "20 KB to 50 KB". Guessing at quality settings until a file fits gets tedious. A target-size tool does the guessing for you.
- Note the exact limit on the form, including any minimum size and the required dimensions.
- If the form names pixel or cm dimensions, resize to those first with the Resize Image tool. It can also take a max file size in KB.
- Open the Image Compressor and type a target slightly under the limit, such as 95 KB for a 100 KB cap.
- Download the result and check that the face or text is still clear.
The Image Compressor lowers quality first and only shrinks dimensions if quality alone can't reach the target. It accepts JPG, PNG, WebP and HEIC, and it runs in your browser, so the photo isn't uploaded. For common limits there are preset pages, like resize image to 100KB.
How to reduce photo size on iPhone
iPhone photos are already efficient if your camera uses High Efficiency. Check under Settings > Camera > Formats. High Efficiency saves HEIC files, which are often much smaller than JPGs of similar quality. Most Compatible saves JPG instead.
The catch is that HEIC isn't accepted everywhere. Some upload forms and older Windows PCs won't take it. When you share photos to many apps, the iPhone converts them to JPG automatically. For a form that needs a JPG under a set size, you can open the compressor in Safari, pick the photo, and download a JPG at the target size. It converts HEIC as part of the process.
How to reduce image file size on Windows and Mac
Both systems have built-in options. They change dimensions well but give you less control over the final KB size.
On Windows 11, with the Photos app:
- Open the image in Photos.
- Click the three-dot See more button and choose Resize image.
- Pick Pixels or Percentage and enter a new width or height.
- Click Save.
On a Mac, with Preview:
- Open the image and choose Tools > Adjust Size.
- Turn on Resample image and enter smaller width and height values, or a lower Resolution. Preview shows the new file size at the bottom of the window.
- Click OK, then save. For a JPG, File > Export also shows a quality slider you can drag down.
Neither app lets you type "make this 50 KB". When a form has a strict limit, a target-size compressor is quicker than trial and error.
Which format gives the smallest image file?
For photos, WebP is usually smallest, then JPG. PNG is much larger for photos and should be avoided unless you need transparency. For website images, converting to WebP is often the single biggest saving, and all current major browsers support it.
For graphics with flat colors and text, PNG with reduced colors often beats JPG, and it stays sharp. The PNG compressor can reduce colors and keeps transparency.
Upload forms are the exception. Many only accept JPG, so check before converting. And whatever you do, keep the original. Compression removes detail for good, and you may need the full-size version later.
Free tools that run in your browser
Frequently asked questions
How do I make a photo smaller in file size?
Resize it to the dimensions you need, then save it as JPG or WebP at a quality around 75 to 85. A target-size compressor can do both to hit a set KB limit.
Does reducing image file size reduce quality?
Compression removes some data, but at sensible settings the change isn't visible. Check the result at 100% zoom, especially faces and small text.
How do I reduce a photo to 100 KB?
Resize it to the dimensions the form asks for, then use a target-size compressor set slightly under the limit, such as 95 KB.
Which image format has the smallest file size?
For photos, WebP is usually smallest, followed by JPG. PNG is best kept for screenshots, logos and images that need transparency.